
How Often Should You Fertilize Tomatoes: Complete Feeding Guide for Maximum Harvest
Discover the optimal fertilizing schedule for tomatoes with our comprehensive guide. Learn which nutrients to use at each growth stage, from seedling to harvest, plus the best organic fertilizers for healthy, productive plants.
- Understanding Tomato Nutritional Needs
- How to Amend Your Soil Before Planting Tomatoes
- How to Fertilize a Young Tomato Plant
- How to Fertilize a Tomato Plant That's Forming Flowers and Fruit
- How to Fertilize a Tomato Plant Near the End of the Growing Season or Boost a Struggling Tomato Plant
- How to Apply Fertilizer to Tomato Plants
- Creating the Perfect Fertilizing Schedule
- Common Fertilizing Mistakes to Avoid
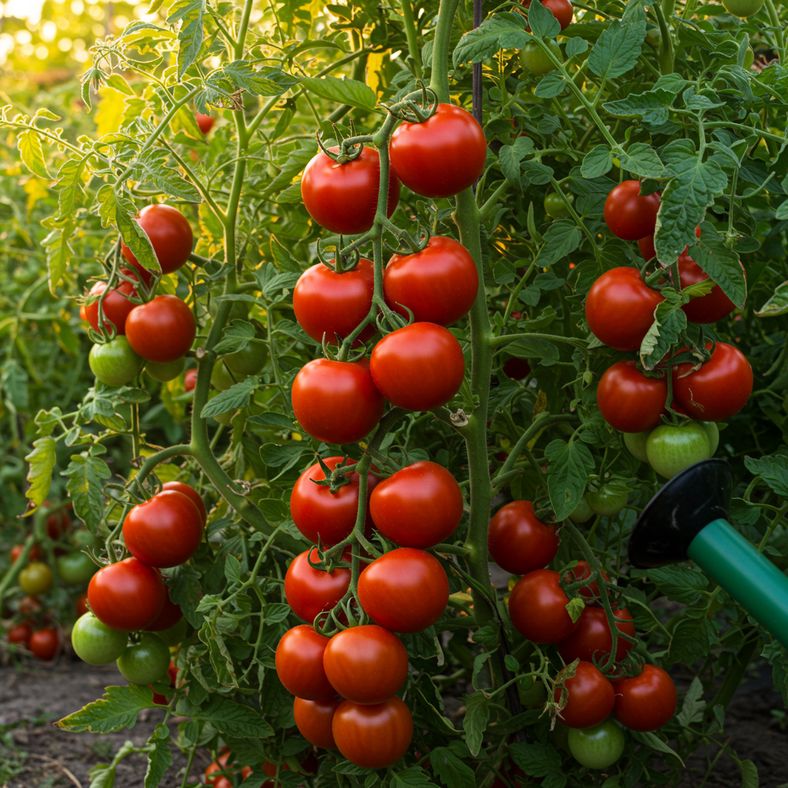
Tomatoes are among the most rewarding crops to grow in your garden, but they're also some of the hungriest plants you'll encounter. As heavy feeders in the Solanaceae family, tomatoes require consistent nutrition throughout their growing season to produce those juicy, flavourful fruits we all crave.
The key to successful tomato cultivation isn't just feeding them regularly – it's knowing exactly when and what to feed them. Different growth stages require different nutrients, and understanding this feeding schedule can mean the difference between a modest harvest and an abundance of perfect tomatoes.
In this comprehensive guide, we'll explore the optimal fertilizing frequency for tomatoes, covering everything from soil preparation to end-of-season feeding strategies.
Understanding Tomato Nutritional Needs
Before diving into fertilizing schedules, it's crucial to understand why tomatoes are such heavy feeders. These plants spend months in your garden, first establishing strong root systems and foliage, then transitioning to flower and fruit production.
Unlike quick-growing crops that might need just one or two feeds per season, tomatoes require ongoing nutrition to support their extended growing period. The key is matching the right nutrients to each growth phase:
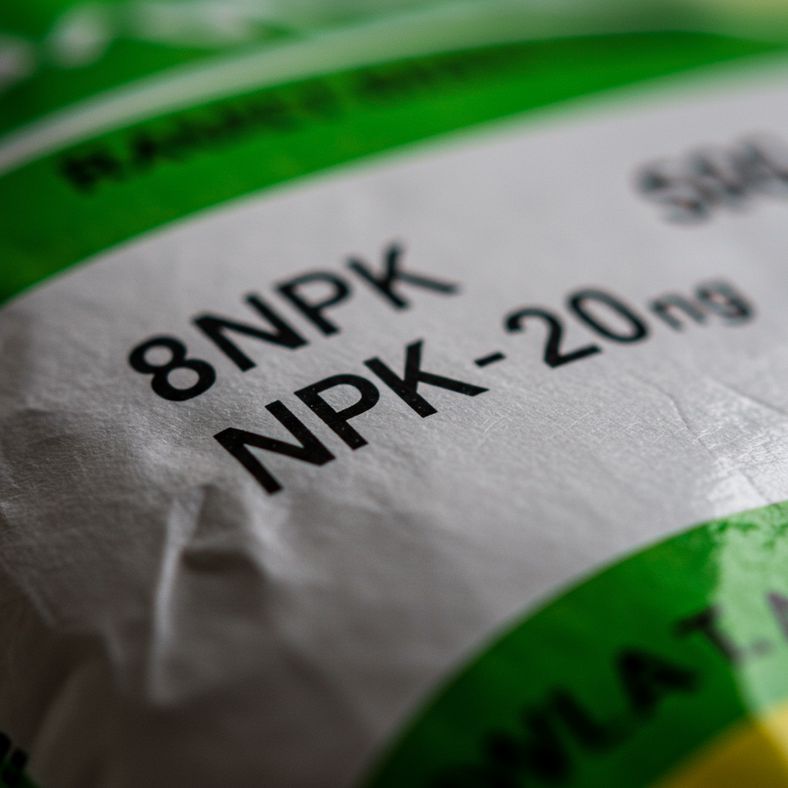
- Nitrogen (N): Essential for leaf and stem development in young plants
- Phosphorus (P): Critical for flower formation and fruit development
- Potassium (K): Important for overall plant health and disease resistance
The NPK ratio on fertilizer packages tells you the percentage of each nutrient. For example, a 10-5-10 fertilizer contains 10% nitrogen, 5% phosphorus, and 10% potassium.
How to Amend Your Soil Before Planting Tomatoes
Successful tomato fertilizing begins before you even plant your seedlings. Proper soil preparation sets the foundation for the entire growing season.
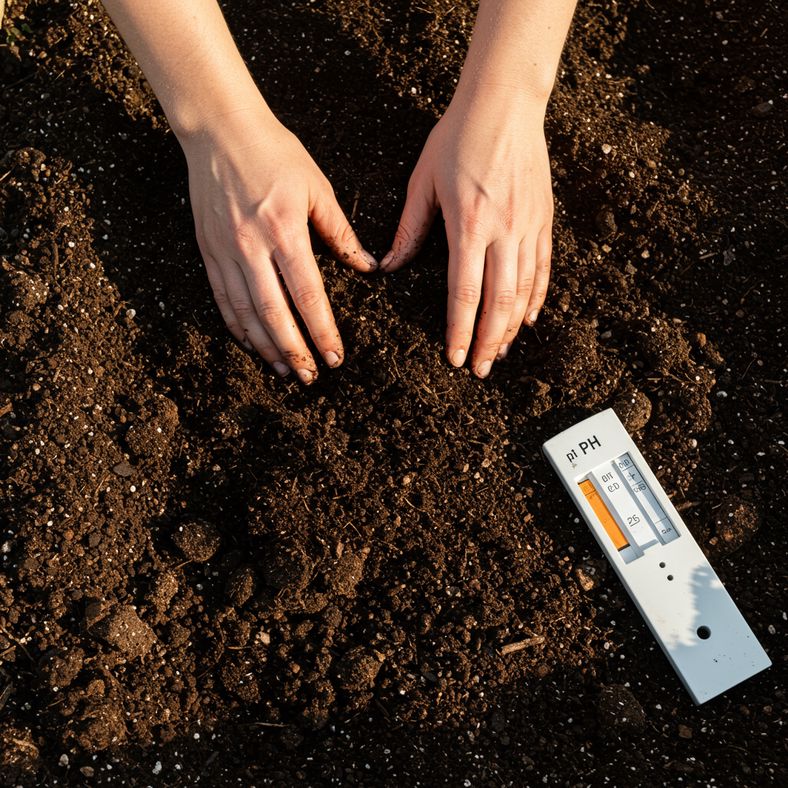
Soil Testing and pH Adjustment
Tomatoes thrive in slightly acidic soil with a pH between 6.0-6.8. If you've struggled with tomato growth previously, invest in a soil test kit to check your pH levels. You can adjust soil pH using organic amendments:
- Add lime to raise pH (make soil less acidic)
- Add sulfur to lower pH (make soil more acidic)
Adding Organic Matter
Incorporate 5-10cm of well-aged compost into your planting area. This organic matter improves soil structure, moisture retention, and provides slow-release nutrients throughout the growing season. Compost acts as a natural fertilizer that feeds your plants gradually.
Pre-Planting Fertilizer Application
Two weeks before planting, work a balanced organic fertilizer into the soil. Look for OMRI-certified products with an NPK ratio around 5-5-5 for initial soil preparation.
How to Fertilize a Young Tomato Plant
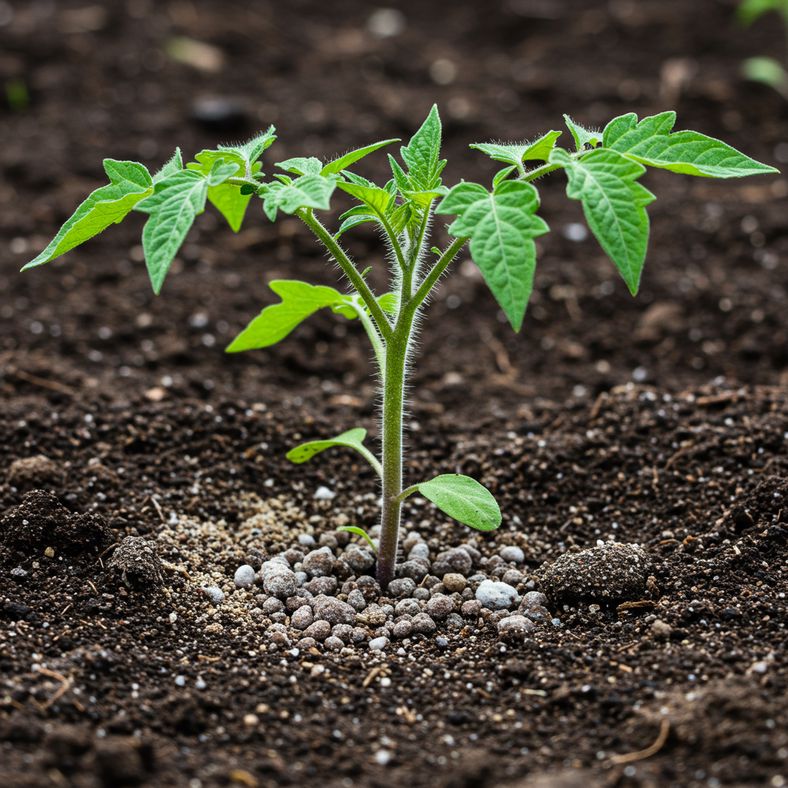
During the first 4-6 weeks after transplanting, young tomato plants need nitrogen-rich fertilization to develop strong stems and healthy foliage. This foundational growth is crucial for supporting future fruit production.
Frequency: Every 2-3 weeks
Focus: Nitrogen-rich fertilizers
If you notice your tomato plant flowering while still having a thin main stem, pinch off the flowers. This redirects the plant's energy into developing a stronger central structure that can support heavy fruit loads later.
Best Organic Nitrogen Sources:
- Cottonseed Meal: Slow-release granular fertilizer (organic only)
- Well-composted Chicken or Rabbit Manure: Rich in nitrogen, mimics natural soil processes
- Coffee Grounds: Provides nitrogen, potassium, and phosphorus when used as side dressing
- Fish Emulsion: Fast-acting liquid fertilizer, apply according to package instructions
For liquid fertilizers, apply every 2 weeks. For granular options, side-dress monthly around the plant base, working gently into the soil.
How to Fertilize a Tomato Plant That's Forming Flowers and Fruit
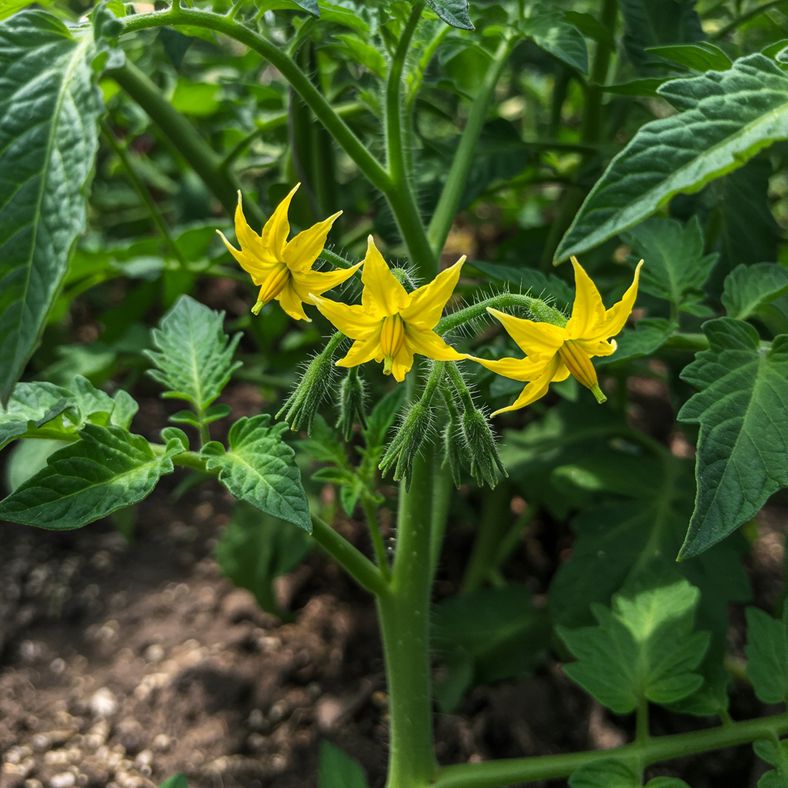
Once your tomato plants begin flowering (typically 6-8 weeks after transplanting), it's time to shift your fertilizing strategy. Now the focus moves from vegetative growth to flower and fruit production.
Frequency: Weekly during flowering and fruiting
Focus: Phosphorus-rich fertilizers
This is the most critical fertilizing period. Each flower has the potential to become a tomato, and proper nutrition during this phase directly impacts your harvest size and fruit quality.
Signs It's Time to Switch:
- First yellow flowers appear
- Main stem is thick and sturdy
- Plant has established good foliage coverage
Best Organic Phosphorus Sources:
- Fish Bone Meal: Excellent phosphorus source, use as foliar feed or side dressing
- Bone Meal: Slow-release option for long-term feeding
- Kelp Meal: Provides phosphorus plus trace elements for overall plant health
- Rock Dust/Soft Rock Phosphate: Cost-effective mineral source with long-lasting effects
For established plants producing fruit, specialised tomato fertilizers can provide the perfect nutrient balance for maximum production.
How to Fertilize a Tomato Plant Near the End of the Growing Season or Boost a Struggling Tomato Plant
Late in the season or when plants show signs of stress, it's time for intensive feeding to maximize your harvest before the growing season ends.
Frequency: Weekly until harvest ends
Focus: Complete nutrition boost
When to Apply End-Season Feeding:
- Plants appear stressed or yellowing
- Fruit production has slowed
- You want to maximize late-season harvest
- First frost is approaching (feed 4-6 weeks before)
Recommended Approach:
Use a comprehensive liquid fertilizer containing multiple nutrients. Look for products with bat guano, earthworm castings, rock phosphate, potash, magnesium, and kelp – all natural ingredients that provide complete nutrition.
Application Methods:
- Soil drench: Dilute according to instructions and water around plant base
- Foliar feeding: Spray diluted fertilizer on leaves (avoid sunny days)
Continue this intensive feeding until plants are removed from the garden or show significant improvement in vigour and fruit production.
How to Apply Fertilizer to Tomato Plants
The method of fertilizer application can be just as important as the timing and type of nutrients you provide. There are two primary application methods, each with specific advantages.
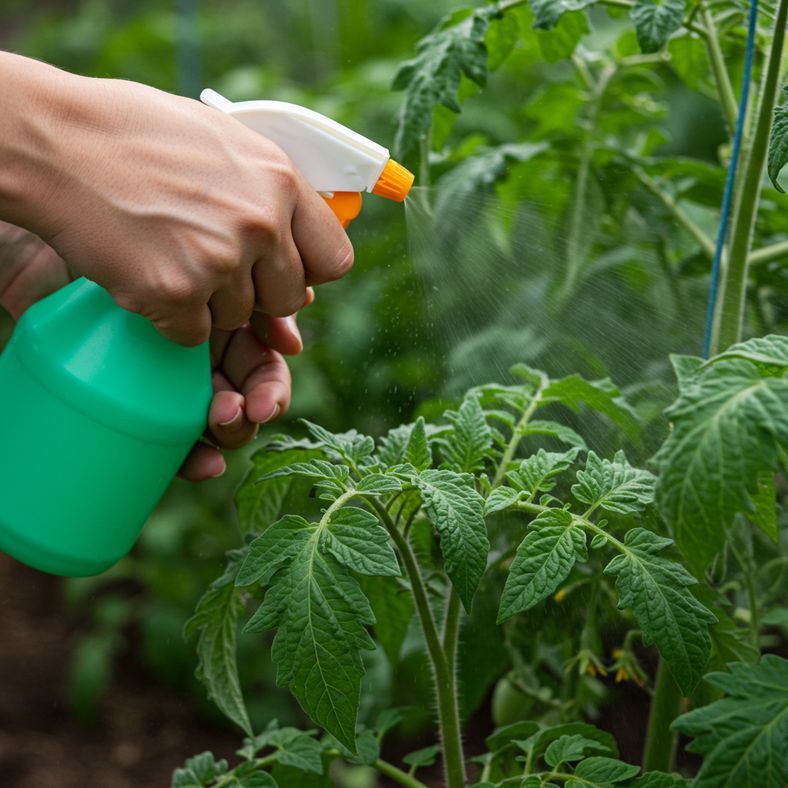
Foliar Feeding
Spray diluted liquid fertilizer directly onto both sides of leaves. This method provides rapid nutrient uptake as leaves absorb nutrients directly.
Best practices for foliar feeding:
- Apply early morning or late evening
- Avoid sunny days to prevent leaf burn
- Don't spray before rain (nutrients will wash off)
- Always dilute according to package instructions
Side Dressing
Apply fertilizer around the base of plants, either as compost, liquid feed, or granular fertilizer. This method feeds the root system directly.
Side dressing technique:
- Apply fertilizer in a circle 15-20cm from the plant stem
- For granular fertilizers, gently rake into soil surface
- Water thoroughly after application
- Avoid disturbing roots when working fertilizer into soil
Liquid vs. Granular Fertilizers
Liquid fertilizers act quickly but require more frequent application. Granular fertilizers release nutrients slowly over time but need less frequent reapplication. Many successful gardeners use a combination of both methods.
Creating the Perfect Fertilizing Schedule
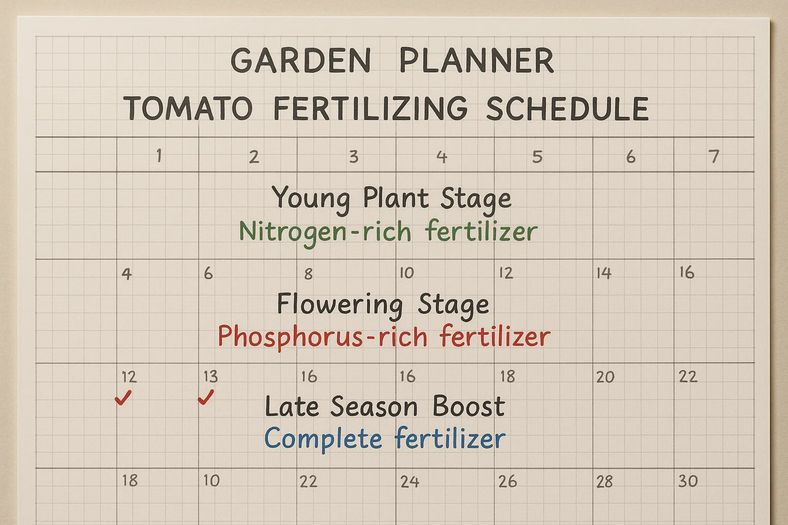
Success with tomato fertilizing comes from consistency and timing. Here's a practical schedule to follow throughout the growing season:
Pre-Planting (2 weeks before):
- Test and adjust soil pH
- Add compost and balanced organic fertilizer to soil
Weeks 1-6 (Young Plant Stage):
- Side-dress with nitrogen-rich fertilizer every 2-3 weeks
- Focus on building strong stems and foliage
Weeks 6-14 (Flowering and Fruiting):
- Switch to phosphorus-rich fertilizers
- Feed weekly with liquid fertilizer or bi-weekly with granular
- This is your most intensive feeding period
Weeks 14+ (Late Season):
- Use complete liquid fertilizers weekly
- Continue until 2-3 weeks before expected first frost
Throughout the Season:
- Add compost monthly regardless of plant stage
- Monitor plants for signs of nutrient deficiency
- Adjust feeding based on plant performance
Temperature Considerations:
In regions with temperatures consistently above 30°C, increase feeding frequency as plants use nutrients faster in hot weather. Conversely, in cooler periods (below 15°C), reduce feeding frequency as plant metabolism slows.
Common Fertilizing Mistakes to Avoid
Even experienced gardeners can make fertilizing errors that reduce tomato productivity. Here are the most common mistakes and how to avoid them:
Over-Fertilizing with Nitrogen
Too much nitrogen late in the season creates lush foliage at the expense of fruit production. Stick to phosphorus-rich fertilizers once flowering begins.
Inconsistent Feeding
Irregular fertilizing can stress plants and reduce yields. Maintain a consistent schedule rather than sporadic heavy feeding.
Ignoring Soil pH
Even with perfect fertilizing, nutrients remain unavailable if soil pH is wrong. Test annually and adjust as needed.
Using Fresh Manure
Fresh manure can burn plants and introduce harmful bacteria. Always use well-composted manure that has aged for at least 6 months.
Fertilizing Dry Soil
Always water plants before applying fertilizer to prevent root burn. Dry soil plus concentrated fertilizer can damage root systems.
Neglecting Trace Elements
While NPK gets the most attention, tomatoes also need calcium, magnesium, and other micronutrients. Use complete organic fertilizers or add kelp meal for trace elements.