
How to Grow Carrots from Carrot Tops: Complete Indoor Growing Guide
Transform your kitchen scraps into fresh carrot greens with this simple indoor gardening project. Learn how to regrow carrot tops in water and eventually harvest your own carrot seeds.
Growing carrot tops from kitchen scraps is one of the most rewarding indoor gardening projects you can try. While you won't regrow the orange carrot root itself, you can successfully grow fresh, edible carrot greens that are packed with nutrition and perfect for cooking.
This simple project requires just a few basic supplies and shows results in days, not weeks. Whether you're new to gardening or looking for a fun activity with kids, regrowing carrot tops is an excellent way to reduce food waste while growing your own fresh greens.
What You'll Need to Regrow Carrot Tops
Before you begin this indoor gardening project, gather these simple supplies:
- Fresh carrots with tops attached - Choose organic carrots when possible for best results
- Sharp kitchen knife - For clean cuts
- Room-temperature water - Avoid cold or hot water
- Wide, flat-bottomed bowl - Glass or ceramic works best
The key is starting with carrots that still have some green growth attached, as completely trimmed carrots won't regrow effectively.
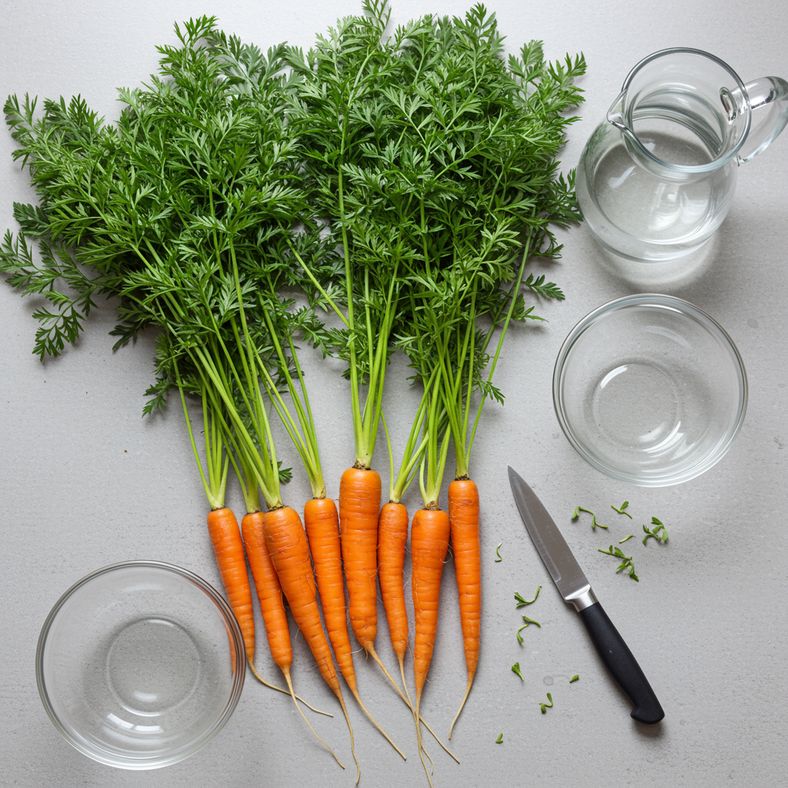
Step One: Prepare Your Carrot Stumps

Start by preparing your carrot tops for regrowth:
- Use a sharp knife to cut about 1 inch down from the carrot top
- Remove most existing carrot greens by peeling back the outer leaves
- Keep only the center leaves and trim them to about 1 inch long
- Make clean, straight cuts to prevent rot
This preparation step is crucial for successful regrowth, as it removes damaged foliage while preserving the growing point.
Step Two: Set Up Your Growing Station
Create the ideal environment for your carrot tops to regrow:
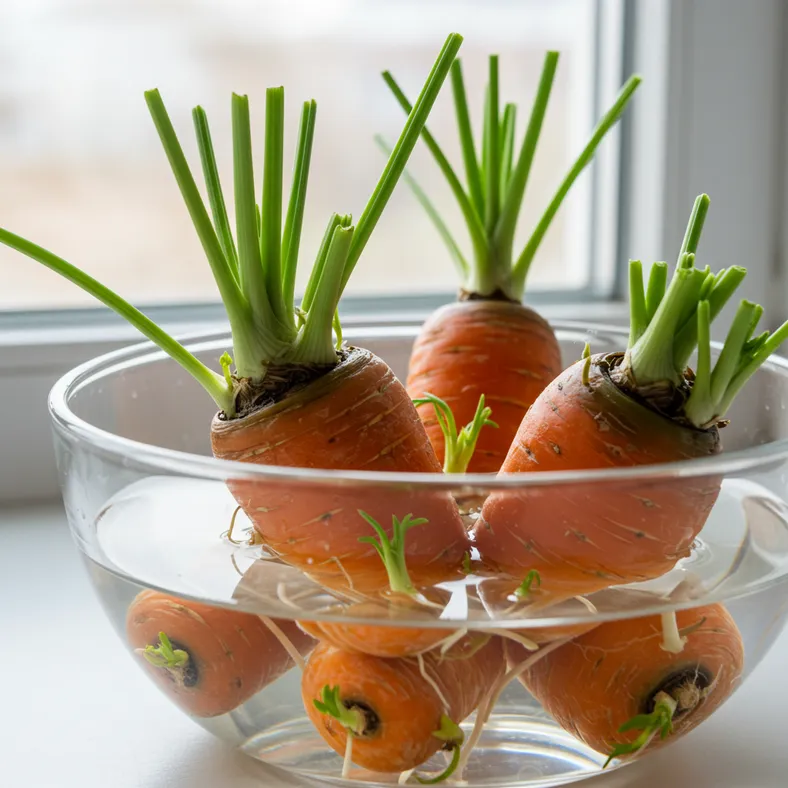
- Place carrot stumps cut-side down in your bowl
- Add 1-2 centimeters of room-temperature water
- Position the bowl in a window with direct sunlight
- Ensure stumps are stable and not floating
The water level should just cover the bottom of the stumps without submerging the remaining green growth.
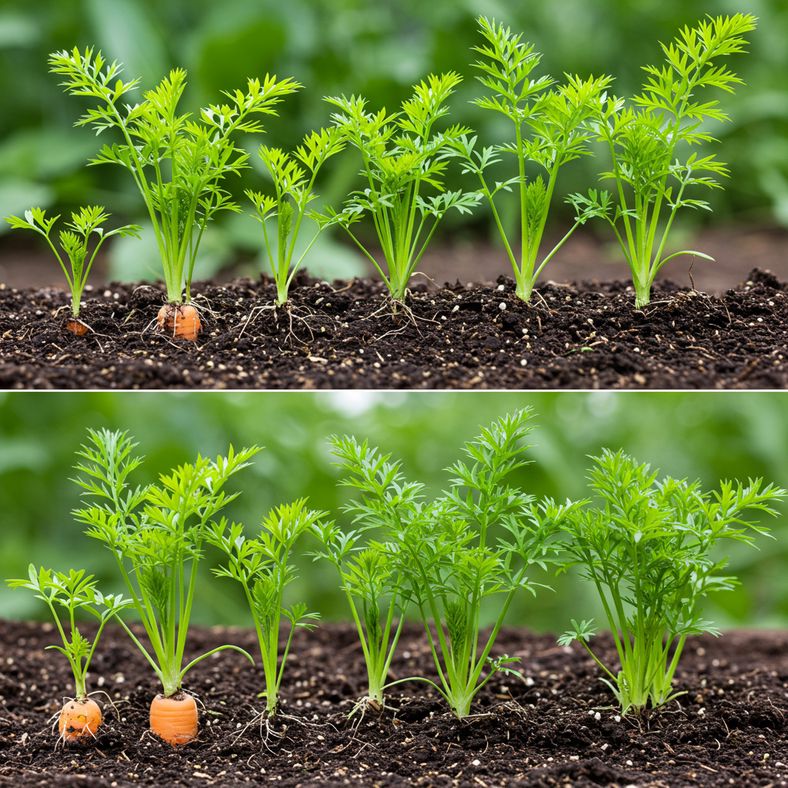
Step Three: Watch the Magic Happen
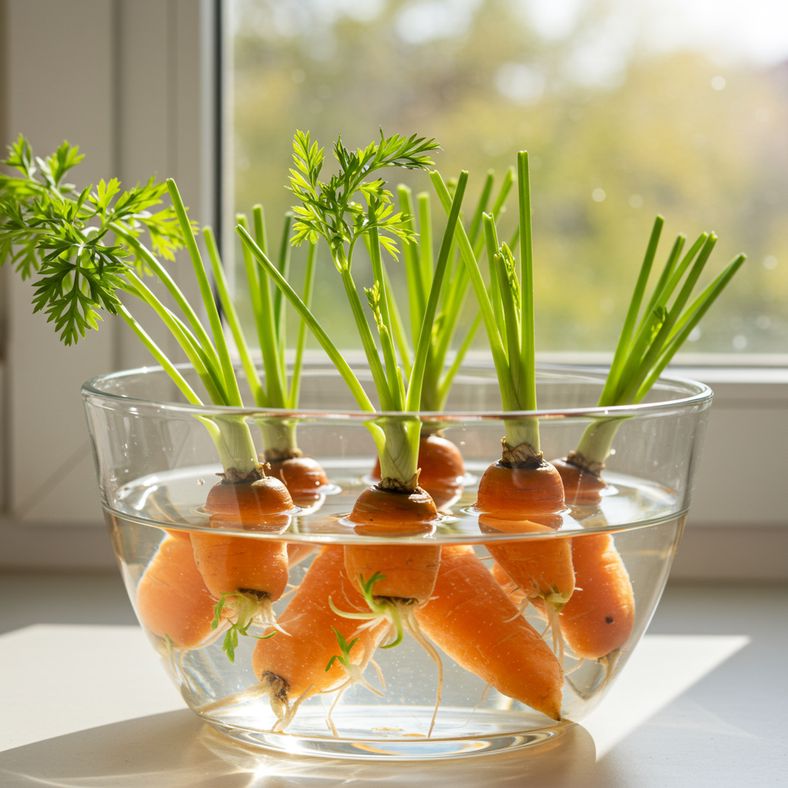
Now comes the exciting part - watching your carrot tops regrow:
- New leaves will sprout from the center within 2-3 days
- Change the water every 2-3 days to prevent bacteria growth
- Keep the bowl in consistent sunlight
- Watch for small white roots forming at the bottom
After a few weeks, you'll have carrot greens that are 5-6 inches tall, ready for the next step.
Step Four: Transplant to Soil
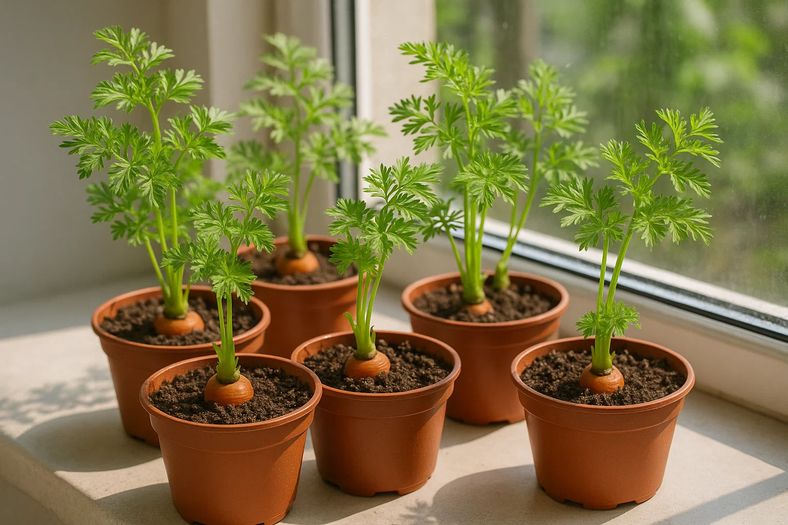
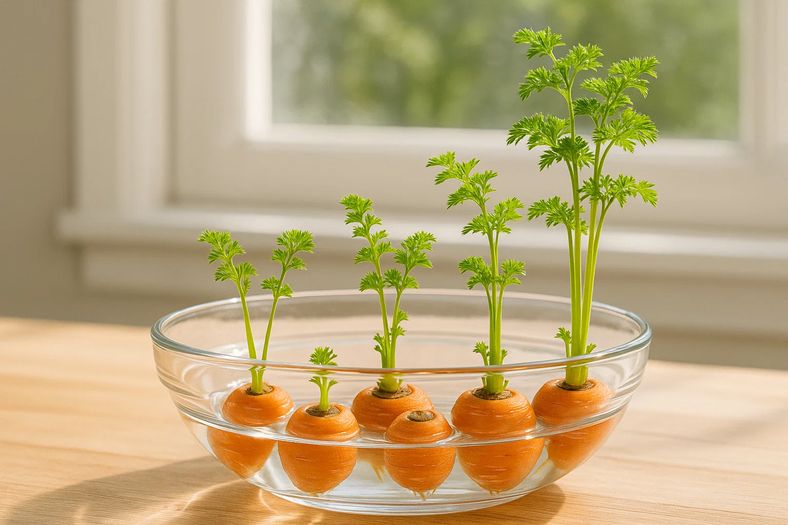
Once you see good root development, it's time to transplant:
- Wait until you see substantial white root growth
- Prepare a container with nutrient-rich potting soil
- Gently transplant the rooted stumps
- Continue growing in a sunny location
The carrot greens will develop attractive fern-like foliage and eventually produce small white flowers that create seeds for next year's garden.
Are Carrot Greens Edible and Nutritious?
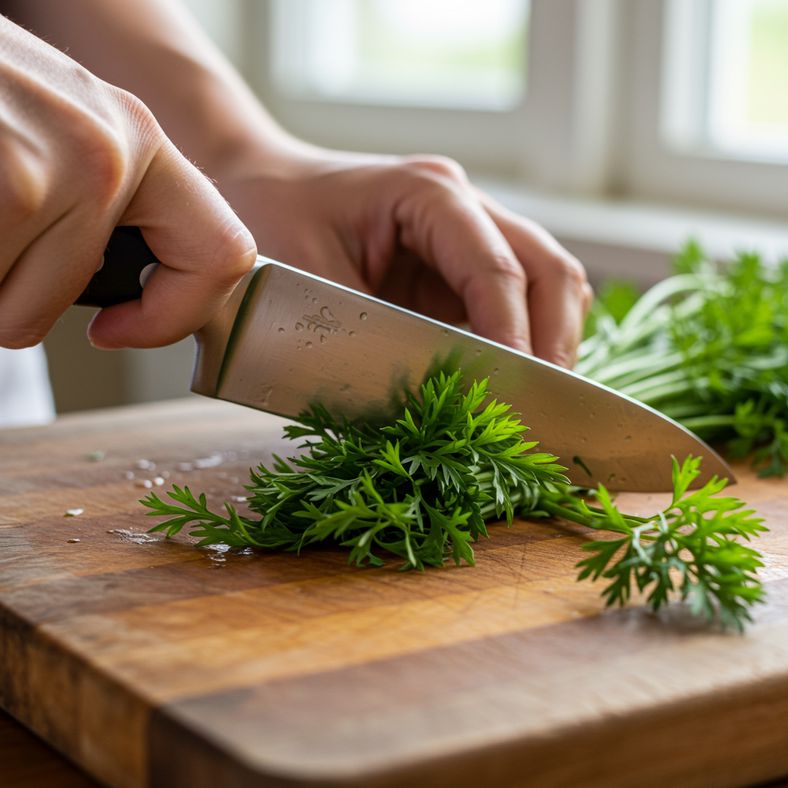
The carrot greens you grow are completely edible and highly nutritious:
- Flavor profile: Similar to parsley with a distinct carrot taste
- Nutritional value: Contains many of the same nutrients as carrots
- Culinary uses: Perfect for pesto, chimichurri, or chopped into soups
- Fresh taste: Homegrown greens taste much better than store-bought
Try incorporating these fresh greens into your cooking just like you would use fresh herbs.
Tips for Success and Troubleshooting
Maximize your success with these helpful tips:
- Choose quality carrots: Organic carrots with fresh tops work best
- Maintain water quality: Change water regularly to prevent bacterial growth
- Provide adequate light: 6+ hours of direct sunlight daily
- Be patient: Some varieties grow faster than others
- Harvest timing: Pick greens when they're 4-6 inches tall for best flavor
Remember, while you won't regrow the orange carrot root, you're creating valuable, nutritious greens while reducing food waste.