How to Grow Garlic: Complete Guide from Planting to Harvest
Growing garlic is easier than you think! This comprehensive guide covers everything from selecting the right varieties to harvesting and curing your homegrown garlic for year-round flavor.

Garlic is one of the most rewarding crops to grow in your garden, offering incredible flavor, health benefits, and the satisfaction of homegrown ingredients. Unlike most vegetables, garlic requires a unique growing cycle that begins in fall and rewards patient gardeners with a bountiful summer harvest.
This complete guide will walk you through every step of growing garlic successfully, from selecting the right varieties to properly curing your harvest for long-term storage.
Selection
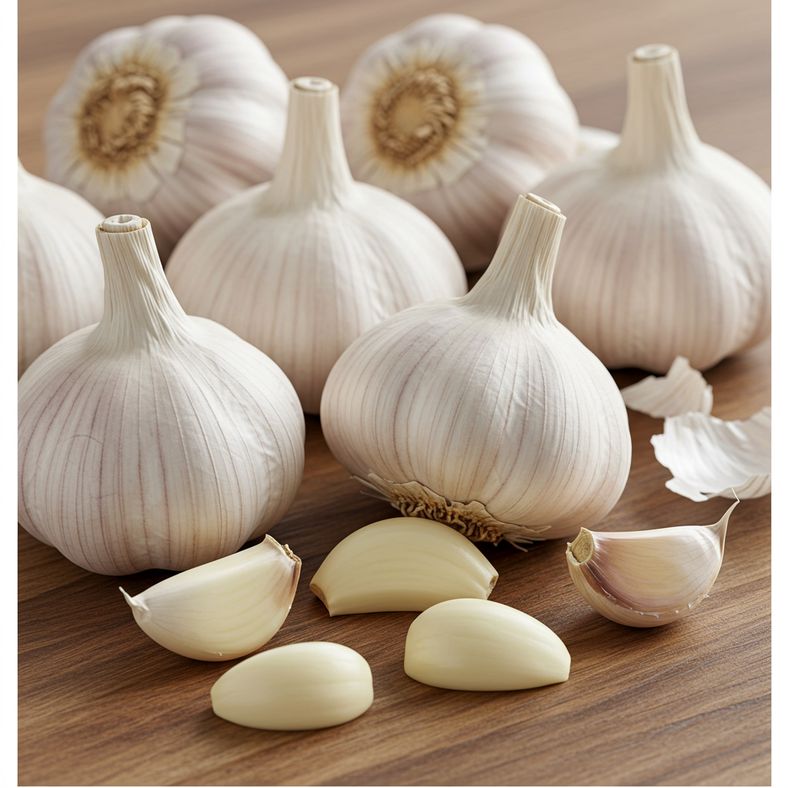
Choosing the right garlic is crucial for success. Never use grocery store garlic - it's treated with sprouting inhibitors that will prevent proper growth.
- Hardneck varieties: Best for Midwest and northern climates, easier to grow, produces scapes
- Softneck varieties: Better for southern climates, ideal for braiding
- Source quality bulbs: Purchase from reputable nurseries or experienced growers
Local nurseries typically stock varieties suited to your climate zone. Once established, you can save your best bulbs each year for replanting, gradually improving your garlic through natural selection.
Planting
Timing is everything with garlic planting. Plant in fall for the best results, typically October through November in most climates.
Planting Steps:
- Prepare the soil: Choose a sunny location with well-draining soil
- Separate cloves: Break apart bulbs just before planting
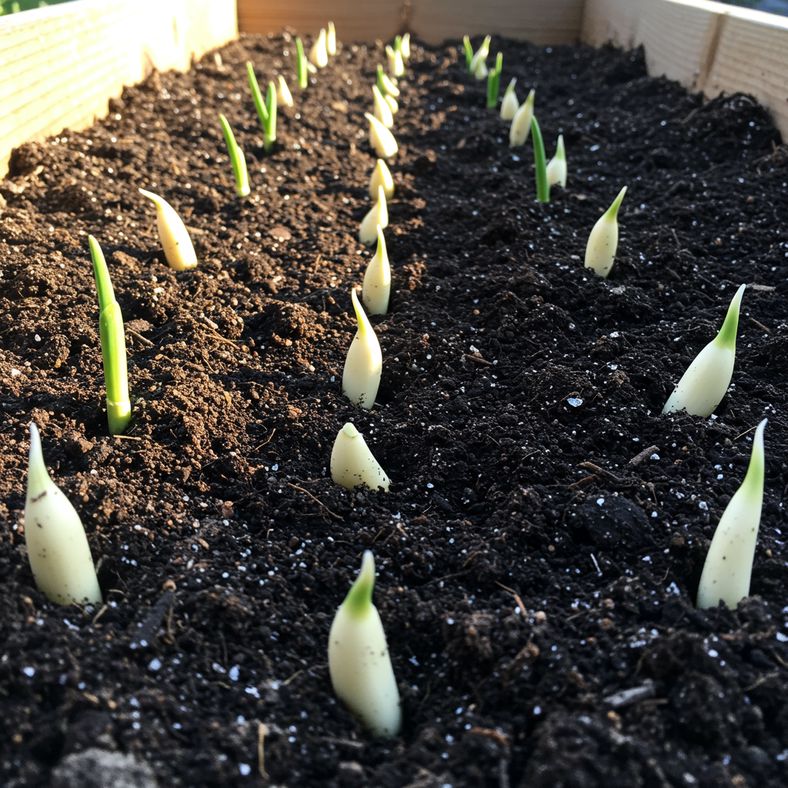
- Plant depth: 1-2 inches deep, pointy end up
- Spacing: 4-6 inches apart in rows
- Mulch: Cover with 6 inches of straw or leaves
Raised beds work exceptionally well for garlic due to excellent drainage, but in-ground planting works too with loose, healthy soil.
Watering
Garlic has modest water requirements but consistent moisture is important during key growth phases.
- After planting: Keep soil evenly moist until ground freezes
- Root development: Consistent moisture helps establish strong root systems
- Spring growth: Water occasionally if rainfall is insufficient
- Low maintenance: Garlic is generally drought-tolerant once established
Avoid overwatering, which can lead to rot. Most gardeners find garlic quite forgiving and low-maintenance.
Spring

As temperatures warm consistently in spring, your garlic will begin active growth.
- Remove mulch: Uncover plants when temperatures warm
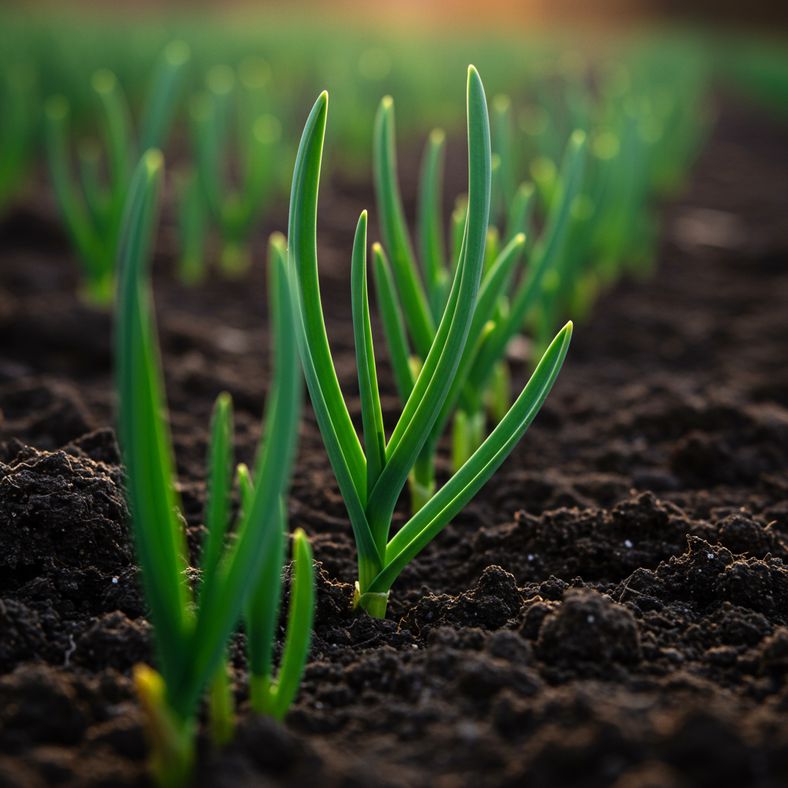
- Green shoots: Expect to see green growth emerging
- Minimal care: Garlic requires little attention during spring growth
This is when you'll start to see the results of your fall planting efforts as vigorous green shoots emerge from the soil.
Fertilizer

Garlic has minimal fertilizer requirements when grown in healthy soil.
- Compost: The primary fertilizer needed - apply 1-2 times per year
- Organic matter: Fork compost into raised beds annually
- Soil health: Focus on building soil structure rather than heavy feeding
Good soil preparation with organic matter typically provides all the nutrition garlic needs for healthy growth.
Scapes
Hardneck garlic produces scapes - curly flower stalks that should be removed for better bulb development.
- Identification: Look for curly stems emerging from plants
- Removal: Cut scapes when they appear, discard seed heads
- Culinary use: Scapes are gourmet ingredients - use like green onions
- Cooking ideas: Perfect for omelettes, salads, stir-frys, and soups
- Storage: Scapes freeze well when chopped
Don't waste these valuable scapes - they're considered a delicacy and can be expensive to purchase.
Harvest

Timing your garlic harvest correctly ensures the best flavor and storage life.
- Timing: Harvest when leaves are halfway brown, typically mid-June in central Midwest
- Method: Carefully pull entire plant, including roots
- Tools: Use a garden spade if plants resist pulling
- Handling: Keep stems and leaves attached for curing
Proper harvest timing is crucial - too early and bulbs won't be fully developed, too late and they may split or deteriorate.
Curing

Proper curing is essential for long-term storage and optimal flavor development.
Curing Process:
- Leave stems on: Don't remove stems and leaves initially
- Dry weather: Harvest during forecast dry periods
- Air circulation: Place on screens or racks for airflow
- Location: Cure outside, in screened porches, or under overhangs
- Weather protection: Move to shelter if rain threatens
- Completion: Cured when stems are dry and bulbs have papery skins
Once fully cured, trim stems and leaves, then store in a cool, dark location. Properly cured garlic can last 6-12 months.